
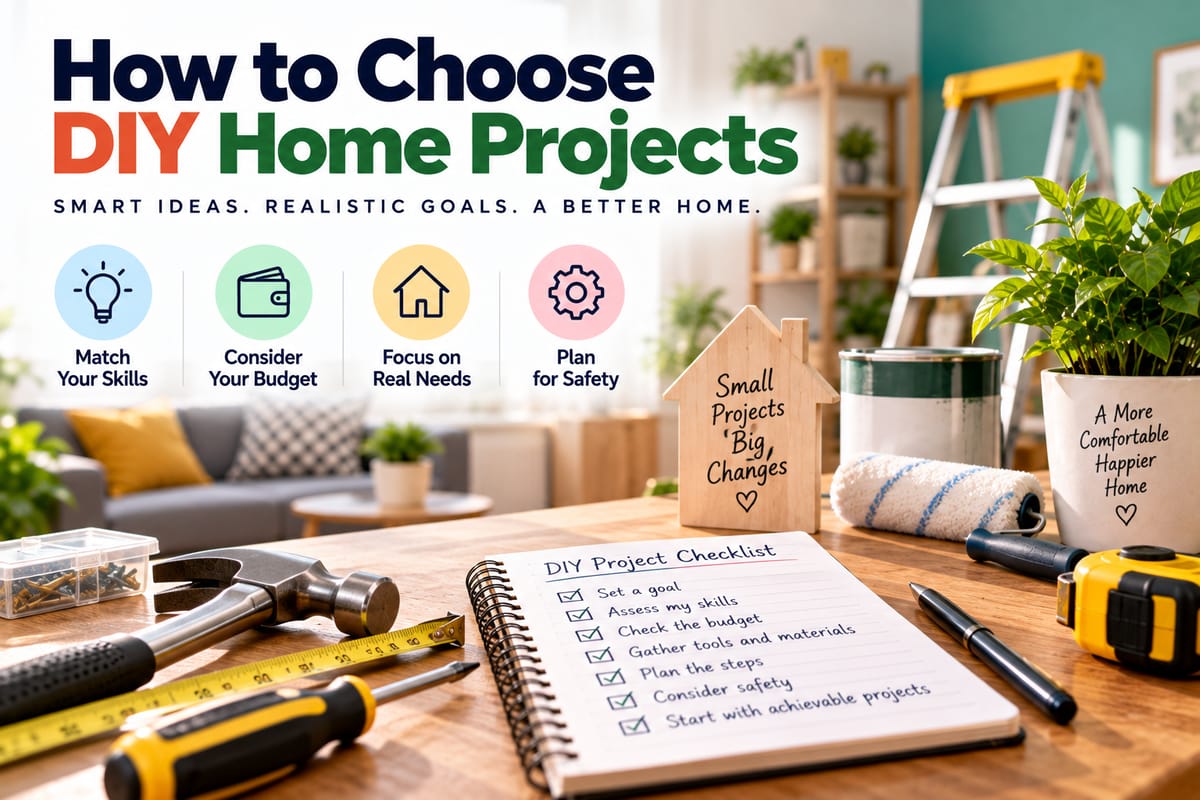
How to Choose DIY Home Projects
DIY home projects can be a practical way to improve a living space, learn useful skills, and make changes without turning every small improvement into a major renovation. From repainting a room to installing shelves or improving storage, many projects can be handled by homeowners with the right preparation.
The challenge is deciding which projects are genuinely suitable for DIY work.
A project that looks simple in a tutorial can become much more complicated once tools, materials, measurements, structural issues, electrical systems, plumbing, permits, and safety considerations are involved. Choosing the right project therefore matters just as much as knowing how to complete it.
Start With the Goal
Before choosing a DIY project, identify what you want to accomplish.
A project might be intended to:
- Improve the appearance of a room
- Increase storage
- Make the home more comfortable
- Repair minor damage
- Improve organization
- Reduce maintenance
- Increase energy efficiency
- Prepare the home for changing needs
Having a clear goal makes it easier to decide whether a particular project is worthwhile.
A broader look at The Complete Guide to Healthy Home Living can also help put individual improvements into the context of maintaining a comfortable, functional, and healthy home.
Assess Your Skill Level Honestly
DIY projects should match the skills you currently have rather than the skills you hope to develop halfway through the job.
Consider whether you already understand:
- The tools required
- Basic measurements
- The materials involved
- The construction methods
- Relevant safety precautions
- How to identify potential problems
A beginner may be comfortable painting walls, assembling furniture, installing simple storage solutions, or replacing certain non-complex fixtures.
Projects involving major electrical, structural, gas, roofing, or plumbing work may require specialized knowledge and should not be treated as ordinary beginner projects.
Consider the Consequences of a Mistake
One useful way to evaluate a DIY project is to ask what could happen if something goes wrong.
A crooked picture frame is relatively easy to correct.
A mistake involving electrical wiring, structural components, water supply lines, roofing, or gas equipment can create much more serious consequences.
The greater the potential damage or safety risk, the more important it is to consider professional assistance.
DIY should not mean taking unnecessary risks simply to avoid hiring someone.
Choose Projects With Manageable Scope
Large projects can become overwhelming when they are not divided into smaller stages.
Instead of deciding to completely renovate a room, consider whether the work can be separated into manageable projects.
For example:
- Declutter the room.
- Repair minor surface damage.
- Paint the walls.
- Improve lighting.
- Add storage.
- Replace selected fixtures.
This approach makes it easier to estimate time, materials, and cost.
It also allows homeowners to stop between stages rather than committing to an enormous project all at once.
Think About the Time Required
A DIY project requires more than the time spent physically working.
You may need time to:
- Research the project
- Measure the space
- Purchase materials
- Gather tools
- Prepare the work area
- Complete the project
- Clean up
- Correct mistakes
A task advertised as a “one-day project” may take considerably longer for someone attempting it for the first time.
Be realistic about how much time you can actually dedicate to the work.
Calculate the Total Cost
DIY does not automatically mean inexpensive.
The total cost may include:
- Materials
- Tools
- Safety equipment
- Delivery
- Replacement parts
- Protective coverings
- Waste disposal
- Additional materials caused by mistakes
If specialized tools are required for a single project, renting them may be more practical than purchasing them.
Compare the expected DIY cost with the cost of professional work before deciding.
Determine Whether the Project Requires Special Tools
Some home projects can be completed with basic tools.
Others require specialized equipment.
Before starting, create a list of everything the project requires and determine whether you already have those items.
Borrowing or renting equipment may be an option, but only if you understand how to use it safely.
Owning a tool does not automatically mean having the knowledge required to operate it correctly.
Check the Condition of the Home First
Before improving an area, determine whether there are underlying problems.
For example, painting a wall with a moisture problem may temporarily hide the visible damage without addressing the cause.
Similarly, installing new flooring over a damaged subfloor can create problems later.
Look for signs such as:
- Water stains
- Mold or persistent dampness
- Cracks
- Structural movement
- Pest damage
- Electrical problems
- Rot
- Unusual odors
Aesthetic improvements should not be used to cover problems that require proper investigation.
Be Particularly Careful With Moisture
Water-related problems can cause significant damage if they are ignored.
Before undertaking projects in kitchens, bathrooms, basements, roofs, or other areas exposed to moisture, understand where water is coming from and whether the underlying problem has been addressed.
How to Prevent Moisture Damage at Home provides additional information about reducing moisture-related problems.
A DIY project should improve the home rather than conceal a leak or other moisture issue.
Know When a Professional Is More Appropriate
One of the most important DIY skills is knowing when not to do something yourself.
Professional help may be appropriate when a project involves:
- Major electrical work
- Gas systems
- Structural modifications
- Significant plumbing changes
- Complex roofing work
- Major foundation issues
- Potentially hazardous materials
- Work requiring specialized permits or inspections
Local regulations can also determine whether certain projects require qualified professionals or official approval.
If professional work is needed, knowing How to Evaluate a Contractor for Home Improvement Work can help with the process of selecting and assessing a contractor.
Consider Safety Before Convenience
Safety should be evaluated before beginning any project.
Depending on the work, this may involve:
- Eye protection
- Gloves
- Hearing protection
- Dust protection
- Appropriate footwear
- Ventilation
- Safe ladder use
- Proper tool handling
Read manufacturer instructions for tools and materials and follow appropriate safety procedures.
Never rush a project because you want to finish quickly.
Think About the Impact on Daily Life
Some projects temporarily make parts of the home unusable.
A kitchen renovation can interfere with cooking. A bathroom project can create access problems. Flooring work may require furniture to be moved elsewhere.
Before starting, determine how the project will affect normal household activities.
If necessary, plan an alternative arrangement before work begins.
This can prevent a manageable project from becoming a major disruption.
Start With Low-Risk Improvements
People new to DIY can build experience through relatively simple projects.
Examples may include:
- Painting
- Installing shelves
- Organizing storage
- Updating cabinet hardware
- Hanging artwork
- Replacing certain decorative fixtures
- Assembling furniture
- Creating simple garden improvements
These projects can teach basic measuring, planning, preparation, and tool-handling skills.
As experience increases, homeowners can decide whether they are ready for more complex work.
Choose Projects That Solve Real Problems
The most satisfying DIY projects often address a practical problem.
For example, adding shelves can solve a storage shortage. Improving closet organization can make daily routines easier. Installing weatherstripping can help address drafts.
A project is more likely to be useful when it solves a problem rather than simply adding another feature to the home.
Before starting, ask:
What problem will this project solve?
If there is no clear answer, the project may not need to be a priority.
Consider Maintenance Requirements
Every home improvement can create future maintenance responsibilities.
A new garden feature may need regular care. Certain materials require periodic sealing or treatment. Additional equipment may require cleaning and servicing.
Before choosing a project, consider not only how it will look when finished but also what will be required to keep it in good condition.
A simple improvement that remains easy to maintain may be more practical than a complicated feature that requires constant attention.
Think About Energy Efficiency
Some DIY projects can improve household energy efficiency.
Depending on the home, relatively straightforward improvements may include addressing drafts, improving appropriate insulation, installing suitable window treatments, or using efficient lighting.
However, energy-related projects should still be evaluated carefully. Some insulation, ventilation, electrical, or heating work can require specialized knowledge.
The potential savings should also be compared with the upfront cost.
Consider Emergency Preparedness
Home improvements can also contribute to emergency preparedness.
For example, homeowners may organize emergency supplies, improve lighting, secure furniture, or make important household shutoffs easier to identify.
The goal is not simply to make the home look better but to make it easier to manage during unexpected situations.
How to Prepare for Home Emergencies provides broader guidance on preparing a household for situations that may disrupt normal routines.
Research Before Buying Materials
Material selection can significantly affect the outcome of a DIY project.
Before purchasing anything, compare:
- Dimensions
- Durability
- Compatibility
- Installation requirements
- Maintenance requirements
- Safety information
- Manufacturer instructions
- Total cost
Do not choose materials solely because they look attractive or have a low initial price.
The correct material depends on where and how it will be used.
Measure More Than Once
Incorrect measurements can create unnecessary costs and delays.
Before cutting, drilling, ordering, or installing anything, verify measurements carefully.
Record measurements rather than relying on memory.
For projects involving multiple pieces, consider how small measurement errors could accumulate across the entire installation.
Taking additional time during the planning stage can prevent much more time-consuming corrections later.
Create a Simple Project Plan
Even small projects benefit from a basic plan.
Write down:
- The desired result.
- Materials required.
- Tools required.
- Preparation work.
- Main steps.
- Estimated time.
- Estimated cost.
- Safety considerations.
- Cleanup requirements.
This does not need to be a complicated construction plan.
The purpose is to make potential problems visible before work begins.
Know When to Stop
Sometimes a DIY project reveals a problem that was not visible at the beginning.
You may discover damaged wiring, hidden water damage, structural deterioration, unexpected plumbing, or another issue outside your experience.
Stopping at that point is not failure.
Continuing without the necessary knowledge can make the eventual repair more expensive and potentially create a safety hazard.
A good DIY decision includes knowing when professional assistance is necessary.
Consider Whether the Project Adds Long-Term Value
Not every improvement needs to increase the monetary value of a home.
A project can be worthwhile because it improves comfort, convenience, organization, appearance, or usability.
However, homeowners should still consider whether the project will remain useful over time.
Ask whether the improvement is likely to solve a lasting problem or whether it may quickly become outdated or unnecessary.
Keep Emergency Access in Mind
DIY improvements should never make emergency access more difficult.
Avoid blocking exits, electrical panels, utility shutoffs, ventilation systems, or other important access points.
Storage and decorative improvements should be arranged so that essential household systems remain accessible.
This is particularly important when adding cabinets, shelves, furniture, or other permanent installations.
Make the Project Fit the Home
A successful DIY project should work with the existing home.
Consider the room’s:
- Size
- Layout
- Lighting
- Materials
- Architecture
- Storage needs
- Traffic patterns
A project can look impressive independently but still feel awkward if it does not fit the surrounding space.
Think about how the finished improvement will interact with the rest of the home.
Choose DIY Projects With Confidence and Caution
Choosing the right DIY home project is less about finding the most impressive renovation and more about finding work that matches your skills, time, budget, tools, and the condition of the home.
Start with a clear goal. Assess the risks. Research the materials. Calculate the full cost. Plan the work carefully and leave enough time for preparation and cleanup.
Simple projects can be excellent opportunities to improve a home while developing practical skills. More complicated work should be approached with greater caution, particularly when safety, structural integrity, utilities, or regulations are involved.
The best DIY project is one that solves a real problem, can be completed safely and realistically, and leaves the home more useful, comfortable, or functional than it was before the work began.




2 Comments
Micle harison
June 7, 2019Lorem ipsum dolor sit amet, usu ut perfecto postulant deterruisset, libris causae volutpat at est, ius id modus laoreet urbanitas. Mel ei delenit dolores.
John Doe
June 7, 2019Some consultants are employed indirectly by the client via a consultancy staffing company.